This post may contain affiliate links, which means that we make a small commission off items you purchase at no additional cost to you. Please refer to our Privacy Policy for more information on how we may use your information. As an Amazon Associate we earn from qualifying purchases at no additional cost to you. We appreciate your support!
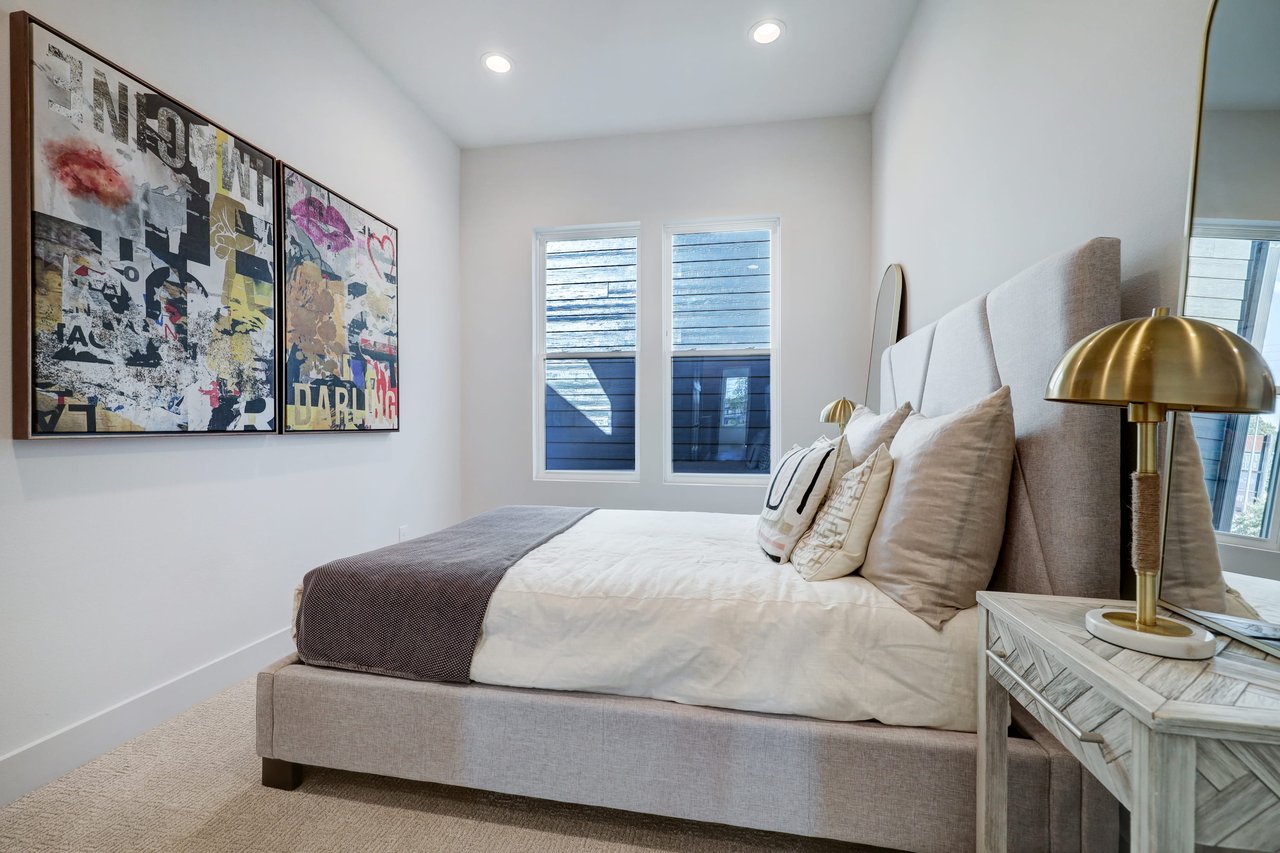
Hanging art or photos on your walls is a surefire way to make a house feel like home or change the entire vibe of your space. Achieving the right look requires careful consideration and attention to detail. Let’s walk through the process of properly hanging pictures to enhance the overall aesthetic of your home.
Before we get into the step by step details of hanging, a few pieces of advice (or opinions) to be considered:
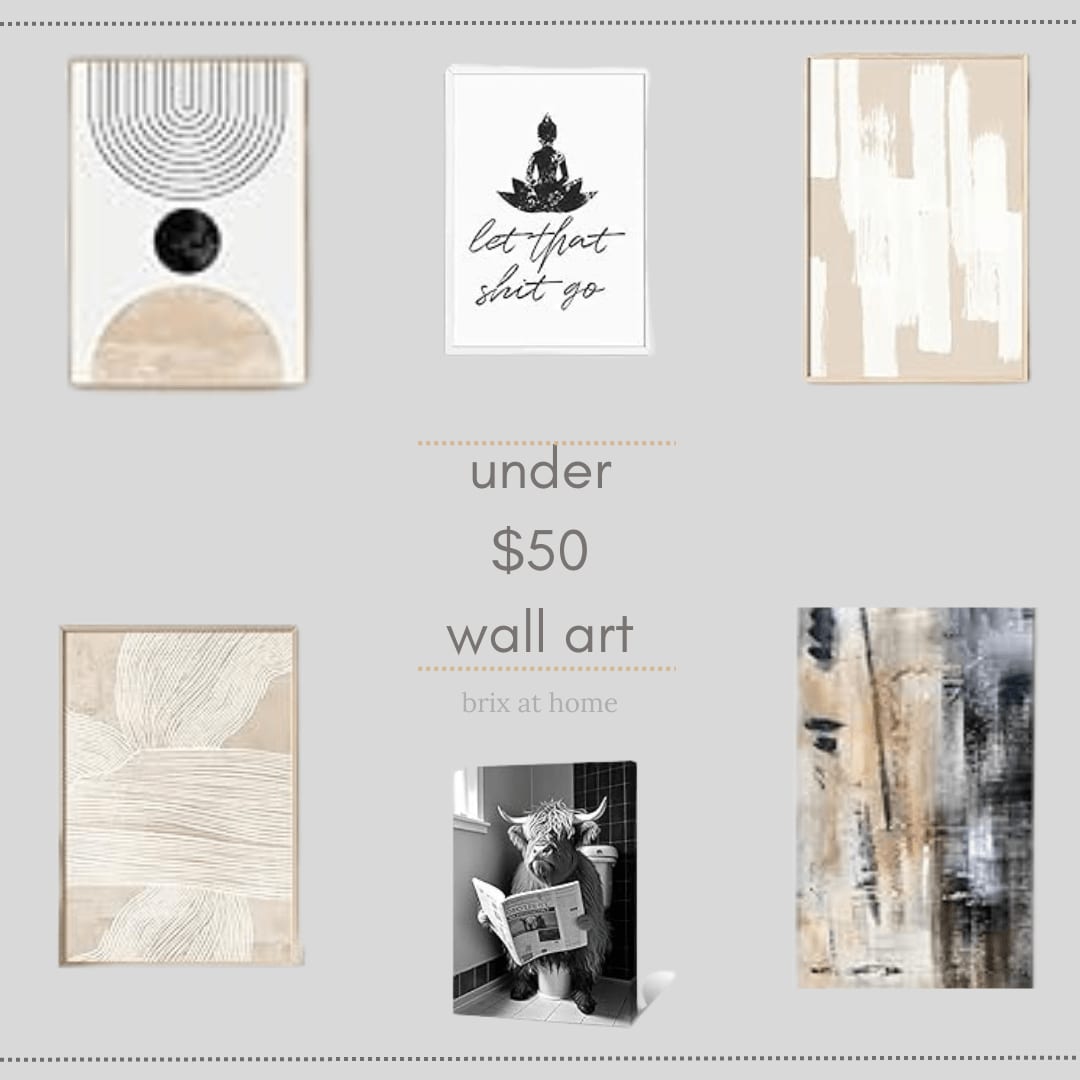
Filling your space with wall décor does not have to be overly complicated or expensive. If you are on a tight budget, a great place to start is with photos you love. This can be your personal photos or even photos you’ve seen on social media. You can easily upload to Shutterfly and have them printed on canvas so that frame selection doesn’t require any thought. Canvas prints are timeless and relatively inexpensive. Bonus- you don’t have to worry about any glare from windows if you are using canvas prints.
Mirrors are another avenue to explore if you don’t have several hundred dollars or more to spend on art. We have found stunning mirrors to use as wall décor from places like Amazon, Gilt, Wayfair, Home Goods, and Hobby Lobby. Thrift or antique stores and even garage sales can have incredibly unique low cost options. Keep an open mind when looking- if a mirror’s style catches your eye but the color either doesn’t work for your taste or your décor, you can always paint the frame.
For a curated list of Decorative Mirrors and Wall Art at a variety of sizes, styles, and price points- all well reviewed- click here.

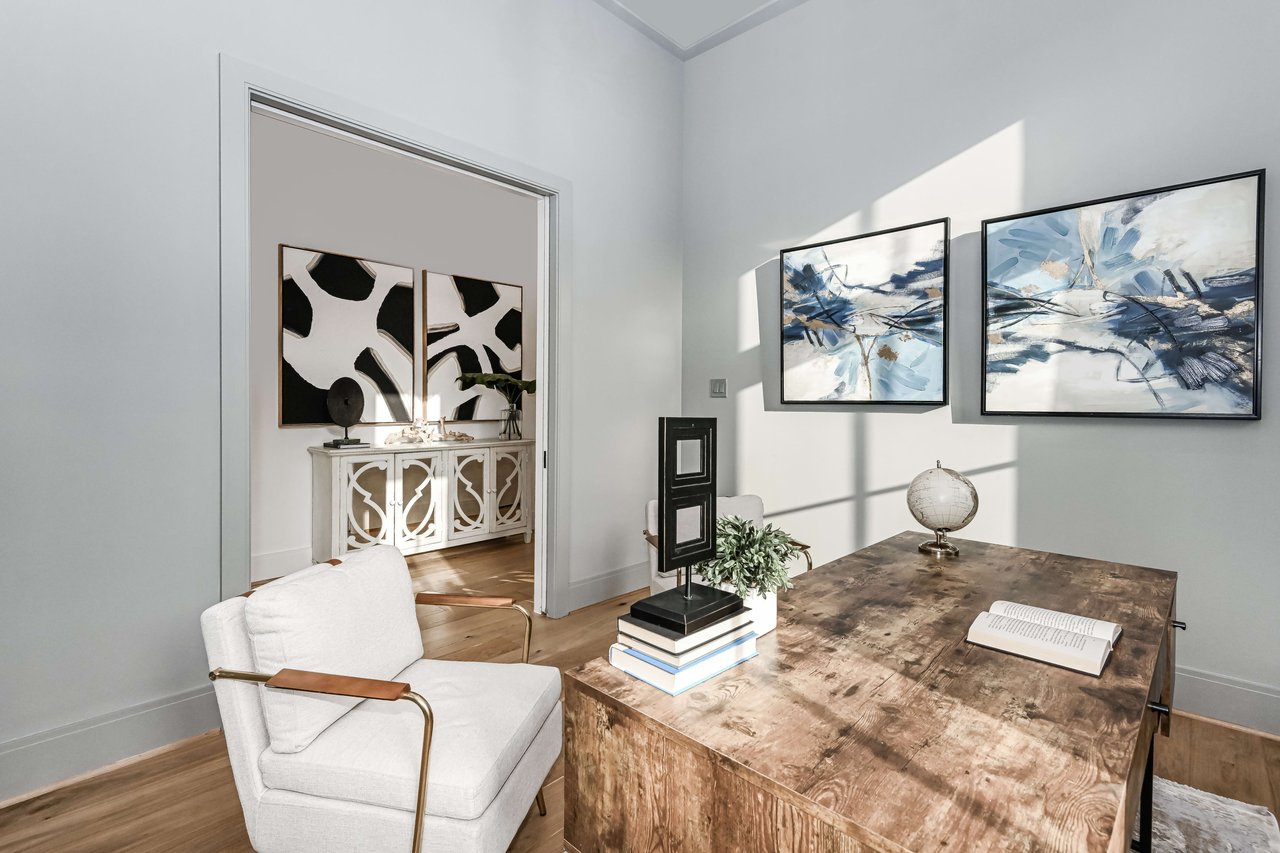
There are not many strict rules when it comes to how to style photography and art in your space. Wall décor is so personal, and it’s an opportunity to showcase what YOU like best. Does it feel right for you to have a singular piece in a large room? Great, go for it! Want to create a gallery wall that spans floor to ceiling? Amazing! Love the idea of mixing and matching styles and colors of frames in the same room? That sounds really fun!
The rules we do feel should be adhered to are: hang at eye level unless it’s a gallery wall or placed over a piece of furniture and hang heavy pieces in studs or with appropriate hardware. Other than that, have fun with it!
Now that we’ve explored options for what to hang, let’s move on to how!
- Plan first! If you intend to hang more than one piece on a wall or in a room, always map it out first. There have been more times than I care to admit where I thought something was positioned properly and it looked awful- and then of course I didn’t want to move it as that involved filling the nail holes and touching up paint. Use painter's tape or craft paper to create cutouts that represent the size of your frames. This is a great way to experiment with different configurations until you find a layout that feels right for you.
- Once you have finalized placement, it's time to measure and mark the precise hanging spots. Measure the distance between the top of each frame and the hanging point (usually a sawtooth hanger or wire). Transfer these measurements onto the wall using a pencil, making small marks where the nails or hooks will go. Use a picture hanging level or a laser level to ensure the marks are straight and aligned.
- Next, you’ll choose your hardware. For lightweight frames, picture hooks or adhesive hooks can be sufficient. For heavier frames (about 10 pounds or more), use wall anchors or molly bolts.
- Using your marks as a guide, carefully nail or install the selected hardware at the designated spots. Use a hammer, screwdriver, or drill, depending on the type of hardware you are using. For larger frames, you likely will need a second set of hands to help. It’s not the time to be a hero.
- Now comes the exciting part—hanging your pieces! Lift each frame, aligning it with the installed hardware or hooks. Check for levelness by using a bubble level. Adjust if needed, or it will bug you forever!
Now that we are through that, you may want to save this link if you screw up and need to fill in some nail holes. We’ve all been there, nothing to be embarrassed about. Make sure you get a scraper too.
Feeling intimidated by designing a gallery wall? We've pulled together our favorite gallery walls for inspiration along with top tips for how to achieve the perfect look here.
Looking for the perfect paint color to compliment your art? We have two comprehensive paint color guides. For light colors, get all the details here. For medium to dark, we have you covered here.